Back in October I posted about a basic NIMH battery tester based on an Arduino nano I made some time back which was a successful project and works quite well however it could only test one battery at a time and didn’t apply a constant current load. It was good but not very accurate and I really wanted the ability to test more than one battery at once.
So looking around for inspiration I saw this Rechargeable battery tester on instructables by Brian Hobbs which can test three batteries at once and displays the test progress and results on a Nokia 5110 type LCD. However the code has some small drawbacks such as using the 5V supply as the reference voltage which isn’t the most accurate as the ‘5V’ supply varies depending on the PSU used and / or the voltage regulator.

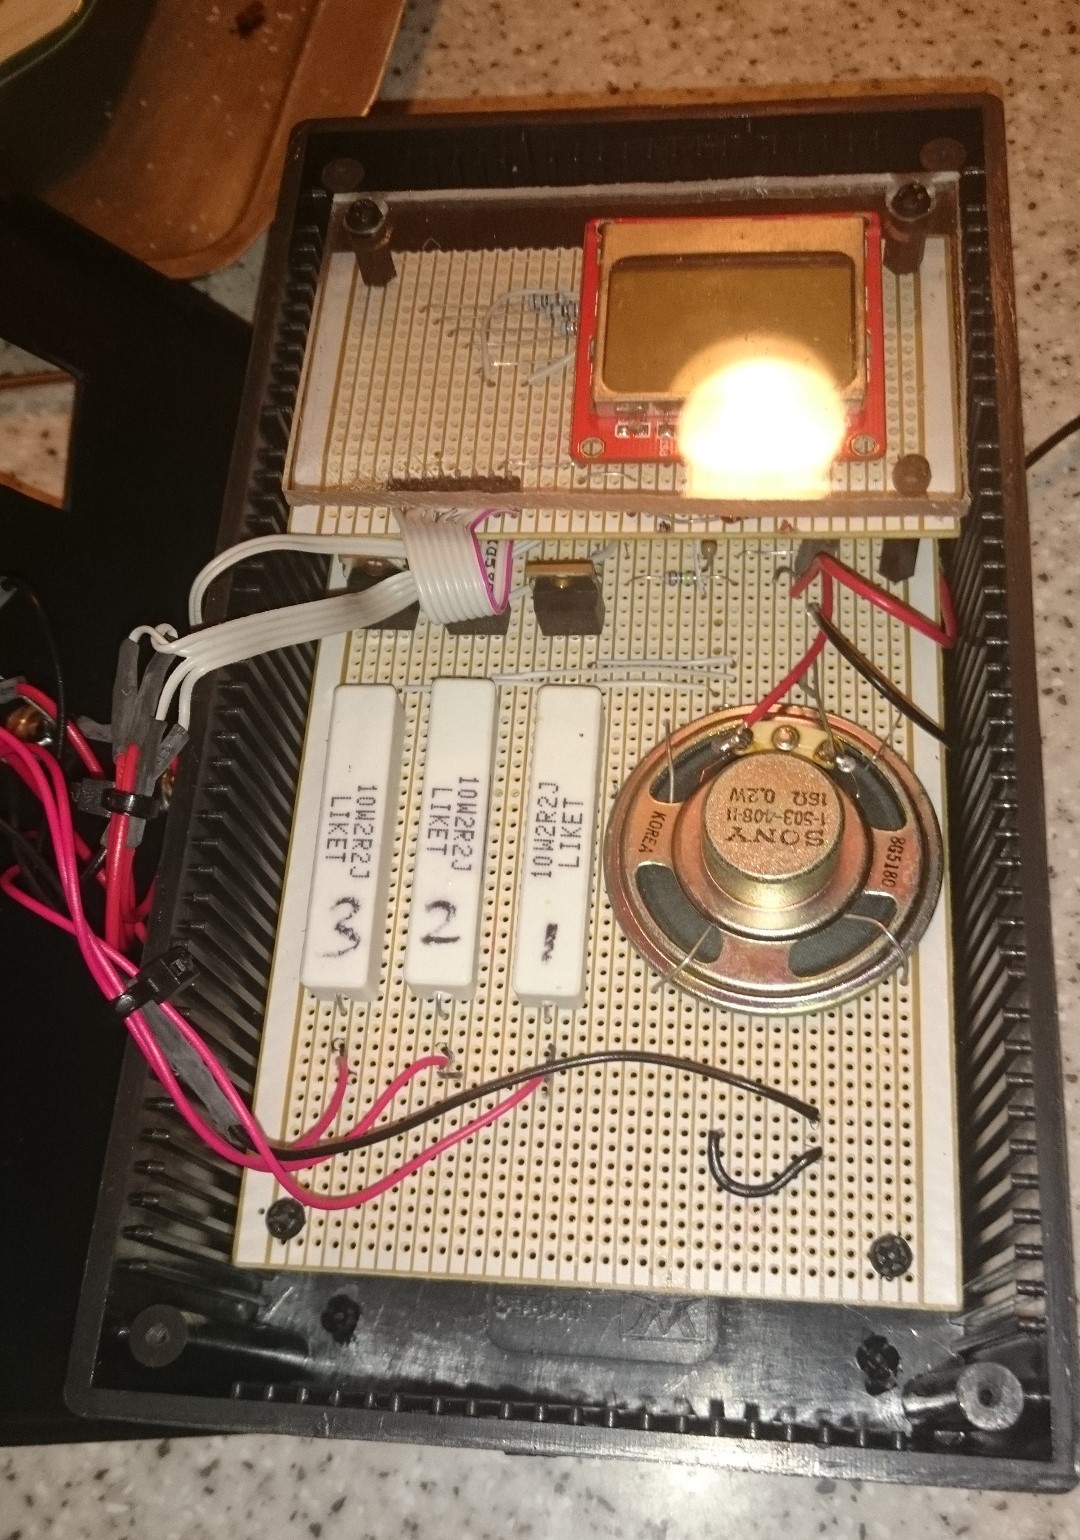
As for other things it does not apply a constant current load either but it does measure the voltage drop across the load & calculates load current from that so it’s much more accurate than my previous project. So far the project has been built hardware wise and is running the original source code with some slight changes to provide indication of test status on a series of LED’s as well as the LCD so test status can be seen from a glance.
Although 100% accuracy isn’t a real must have for me initial testing of using the original source code produced readings +/- 250mAh or so of the true capacity of the battery so I plan to use the more accurate and preferred method of using the internal 1.1V reference. This can then be used to measure the actual VCC voltage and therefore produce more accurate test results. But I’m getting ahead of myself here. Let me explain what I did to the original source code and design.
These modifications are explained in the code but to sumarize; I added three LED’s indicating that the test was in progress for each battery and a dual colour LED indicating if the test for all batteries was finished or still running. The first three didn’t need any code modification but the dual colour LED was just a simple mod that changed pins high or low depending on test status. I fitted it into a black project box with a similar layout to the original design and used seperate battery holders for each battery.
In practice it works quite well and does indicate if a battery is weak by comparing it with others of the same type or by simply reading what it’s Ah rating should be and what it actually provides during load. No battery tester is perfect as batteries prefer to be discharged at a maximum of around 10% of their capacity e.g a 2.5Ah battery should be discharged at a max rate of 250mA.
However some batteries are rated at a high rate of discharge and this tester was primarily designed to test batteries used in model aircraft. I needed to be able to see if a battery would not just crap out at an inconvenient time resulting in a costly repair. This tester does this job just fine. With a 2.2 ohm load resistor the battery tester draws around 550mA from a fully charged NIMH battery. Generally when tested with new batteries the test results were within 300mAh of the advertised battery capacity which to be fair the batteries themselves have a tolerance in their advertised rated capacity printed on them.
Anyway here is version 1.0 of the modified code If you do decide to build this project you may have to adjust the load resistor to 2.7 ohms depending on what rate of discharge your batteries can handle. You should also use good quality battery holders and use thick wire from the holders to the PCB to minimize voltage drop and / or poor contacts. With minor code modifications (and a 4.7 ohm load resistor) it can be used to test lithium cells with a maximum voltage of 4.2V as well which is useful.
As I mentioned above I’m working on an improved version of the code which I will test and ensure it works before updating here. Watch this space.
Updated – Firmware version 2 now available for download. With better voltage reading accuracy. Best used with a decent regulator (such as a 7805) instead of the Arduino’s built in regulator or alternatively use a precision 5V reference IC such as the LT1029CZ.